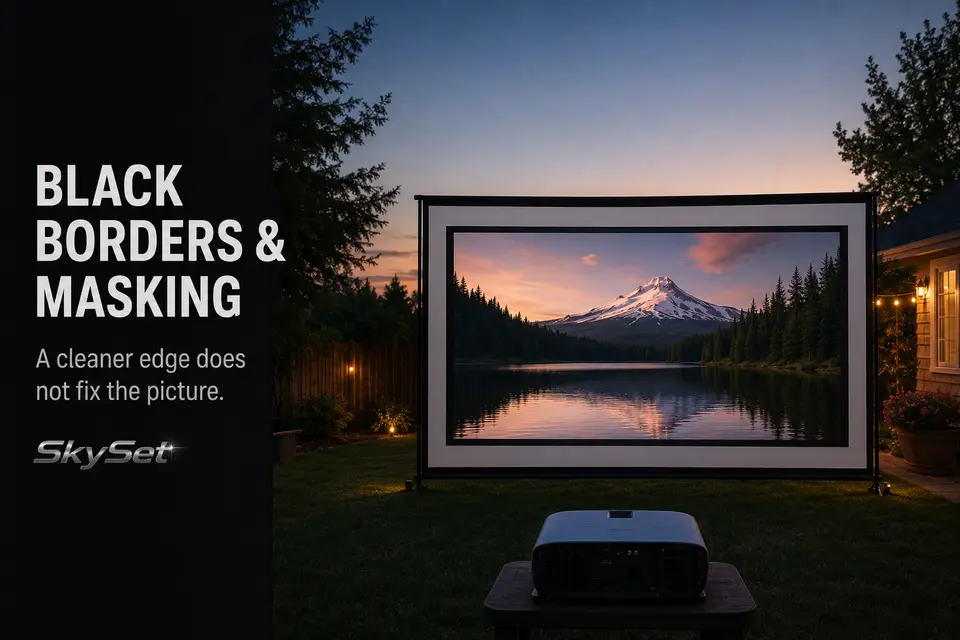
Black borders are often added first because they make an outdoor screen look more finished. That visual improvement is real, but it creates a misleading expectation: a darker edge cannot repair the picture inside it.
If the image is too large, off center, cropped, trapezoidal, or washed across the whole screen, masking only gives the problem a cleaner outline. The useful question is not whether every outdoor screen needs a black border. It is whether the projected image is already correct and still feels visually loose against unused screen material.
Fit the image first. Check it from the seats after dark. Then decide whether a darker perimeter improves the viewing result enough to be worth adding.
Why Edges Affect Picture Clarity
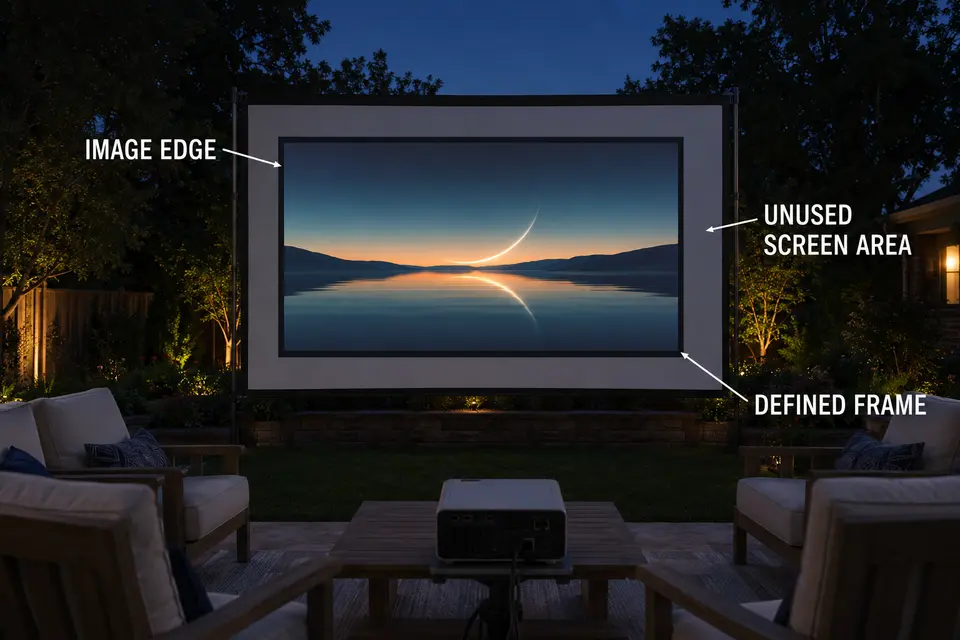
A border helps the eye identify where the intended picture ends. On a larger white screen, unused material around a correctly fitted image can remain visible at night—especially when patio lighting, house light, or a pale wall behind the screen makes that extra surface stand out.
A restrained black edge reduces that distraction. It gives the picture a defined boundary, much like a frame makes a printed image easier to read against a light wall.
That is a perception benefit, not a projector upgrade. The border does not add lumens, improve focus, create deeper native blacks, or prevent ambient light from reaching the screen. If the movie looks dim across its entire surface, the problem is still brightness or stray light.
Editorial Note: A black border can improve perceived containment. It cannot improve the projector’s actual output.
The edge helps only after the picture is stable
The strongest use case is a repeatable setup: the screen stays in roughly the same location, the projector returns to the same position, and the image lands squarely inside the usable screen area. In that situation, the border becomes a quiet finishing detail.
It is less useful on a screen that is frequently moved, re-angled, or set up at a different distance each time. A fixed dark opening can make a changing image fit look more obvious rather than less.
Overscan and Cropping
A picture that fills every inch of the screen can look satisfying while still being incorrectly fitted. Overscan deliberately enlarges the image so its outer edges extend past the visible boundary. That can conceal rough source edges, but it can also remove subtitles, menu controls, sports score graphics, or detail at the top and bottom of the frame.
Do not judge this by a movie scene alone. Use a source menu, pause screen, or simple test pattern before movie night. Look at all four corners. If icons or intended picture detail disappear, the image is not properly fitted—even if the visible rectangle appears clean.
The same problem can come from the source device. A streaming stick, laptop, game console, or projector menu may apply a display-size or overscan setting independently. Changing a screen border will not correct a source that is already sending a cropped image.
The first correction is usually physical: projector distance, height, centerline, zoom, or image position. If the rectangle is uneven because the projector sits too far to one side or too high, moving the projector instead of relying on keystone correction is the more useful decision. A black border should never be used to conceal missing picture information.
DIY Masking Limits
DIY masking has a narrow but legitimate role. It works best on a stable screen where the intended image size is known and the mask can remain outside that image every time.
The weak version is a loose strip of dark material that curls, reflects light, sags, or intrudes into the picture. Outdoors, a slight wave at the edge can be more noticeable than an unmasked white surface because it catches the eye during dark scenes.
Keep the mask outside the decision
Masking should define a correctly sized image; it should not force an image into a smaller opening. If you need to crop the picture or keep adjusting zoom just to make a border look even, the visual treatment is controlling the setup when the picture fit should control it.
Temporary masking can make sense for a semi-permanent screen used in the same spot through a season. It is a poor match for a portable arrangement that moves between lawn, patio, garage door, or different screen sizes. In that case, solve the screen and projector relationship first, then accept a little unused screen area if it is not distracting from normal seats.
Image Edge vs Screen Edge
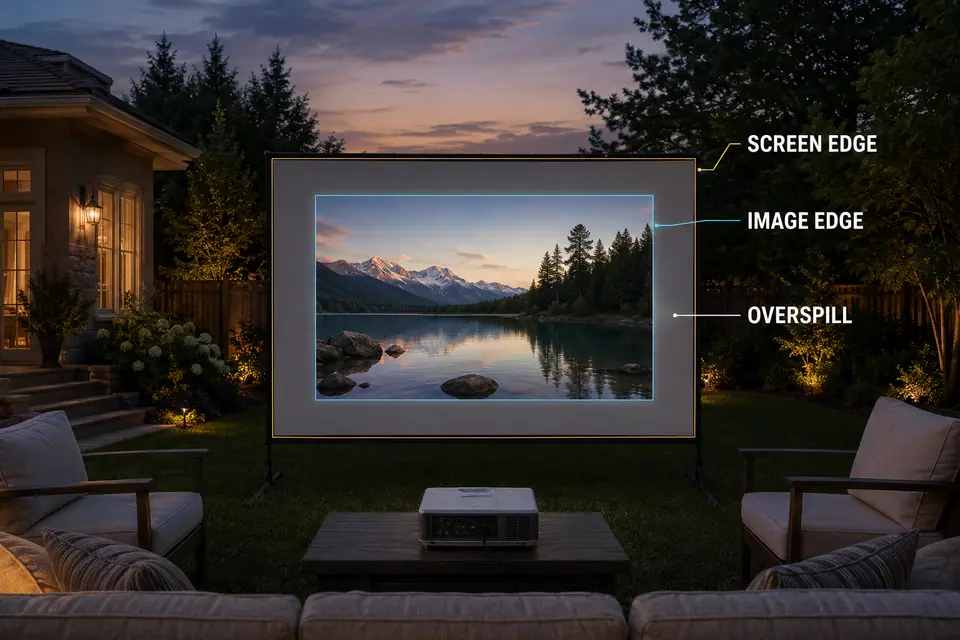
The critical distinction is between the physical edge of the screen and the edge of the projected image. They are not automatically supposed to match.
A screen can be square, taut, and correctly placed while the image is too wide, too high, or off center. It can also show a perfectly fitted image with several inches of unused screen surface around it. Those are two different conditions with different corrections.
If the projected image extends beyond the screen, resize or reposition it. If the sides are uneven, correct the projector-to-screen relationship. If the image is accurate but the remaining screen surface keeps pulling attention away from the movie, then a border may have a real visual job.
A black edge cannot hide a changing geometry problem
This matters most with portable equipment. A projector stand that is moved slightly, a screen that settles on uneven ground, or a different source aspect ratio can change where the image lands. The border may make the first setup look precise, then expose the mismatch on the next movie night.
The better filter is consistency. Use masking only when the image edge can return to the same place without relying on repeated compromises.
Night Contrast Check
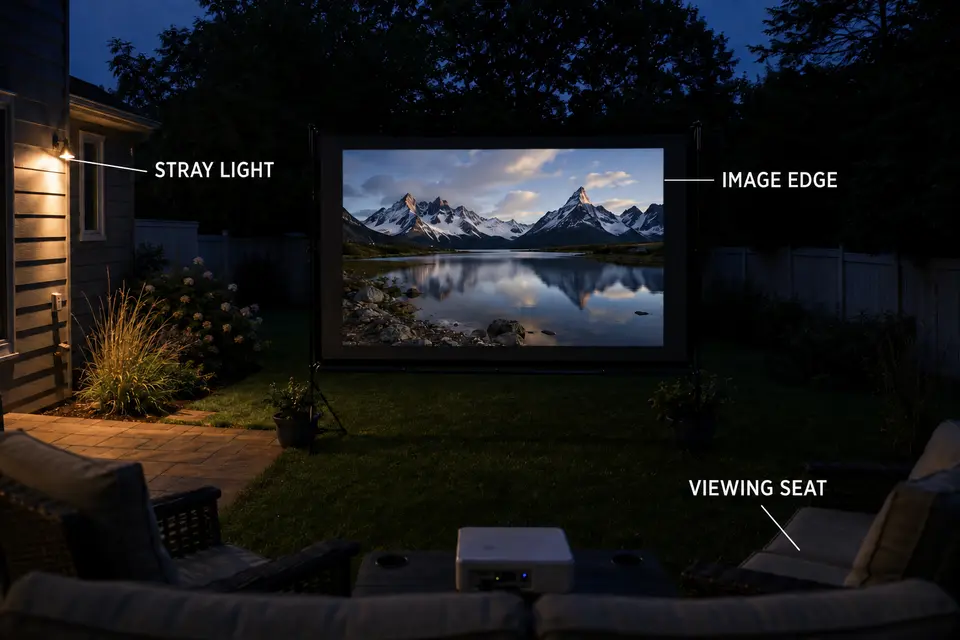
A border should be judged from the seating area after dusk, not while standing close to the screen during setup. At viewing distance, you can see whether the edge itself is distracting or whether the whole screen is struggling against its surroundings.
Run this quick check before committing to masking:
- Is the image fully visible on all four sides?
- Does unused screen material still stand out from the normal seats?
- Is a nearby patio, porch, or landscape light hitting the screen?
- Does the entire picture look flat, or only the transition between picture and screen?
If the whole image looks gray or weak, a border is solving the wrong problem. It may make the outline look tidier, but it will not restore scene depth or improve dark areas that are being washed by nearby light. That is when an outdoor projector image that looks washed out needs attention before any cosmetic edge treatment.
A useful night check also reveals when masking is unnecessary. If the audience cannot notice the unused screen area once the movie begins, adding a border may create work without improving the actual viewing experience.
When Borders Matter Most
Borders matter most when four conditions are already in place: the screen is stable, the projector position is repeatable, the image is correctly fitted, and unused screen material remains visible enough to interrupt the movie from the seats.
They matter least when the picture changes location every use, the screen is already closely filled, or ambient light is flattening the entire image. In those situations, the border may improve the appearance of the setup without improving what viewers can actually see.
The practical sequence is fit, test, then frame. A black border is worthwhile when it finishes an image that is already right. It is not a shortcut around cropping, alignment, focus, projector placement, or night contrast.
For projector-specific image sizing and shape adjustment, consult Epson’s image adjustment guidance.