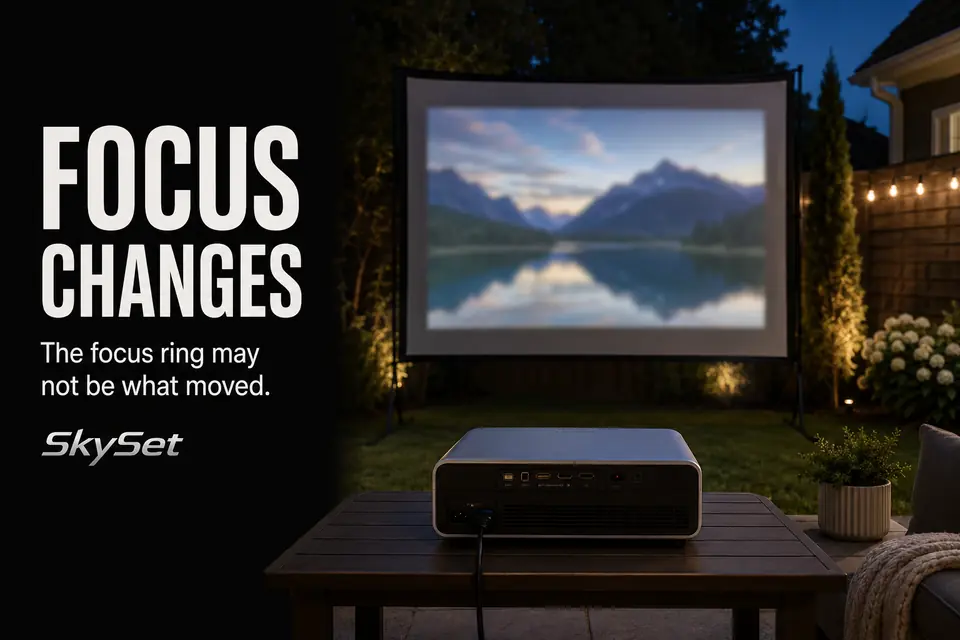
A projector image can look crisp during setup and noticeably softer halfway through the movie. The common mistake is to turn the focus ring immediately. That may restore sharpness, but it can also erase the best clue to what changed.
The useful diagnosis begins with two questions: when did the softness appear, and did it affect the entire image evenly? A single, uniform change soon after startup can indicate warm-up shift. Softness that follows a bumped table, moving cable, gust of wind, or sagging screen points to a physical change in the projector-to-screen relationship.
Check that relationship before refocusing. If the projector or screen moved, the focus ring is correcting the symptom rather than the unstable setup.
Warm-Up Focus Shift
A one-time change early in the movie is the pattern most consistent with warm-up focus shift. Projector components reach their settled operating condition after startup, and a focus adjustment made while the unit is cool may no longer be exact once the optical system warms.
The visible change is usually modest and reasonably even across the frame. If the center, edges, and corners all become slightly softer at about the same time, temperature-related stabilization is more plausible than a bowed screen.
Timing is the stronger clue. A picture that softens once, accepts one small correction, and then remains stable fits the warm-up pattern. A picture that needs attention repeatedly throughout a two-hour movie does not.
Focus after the setup has settled
When practical, start the projector while arranging playback, seating, and sound. Establish usable focus immediately, but save the final fine adjustment until the image has had time to settle.
There is no single warm-up duration that applies to every projector. Use behavior rather than a universal timer: once the image stops changing, make the final adjustment and watch whether it holds.
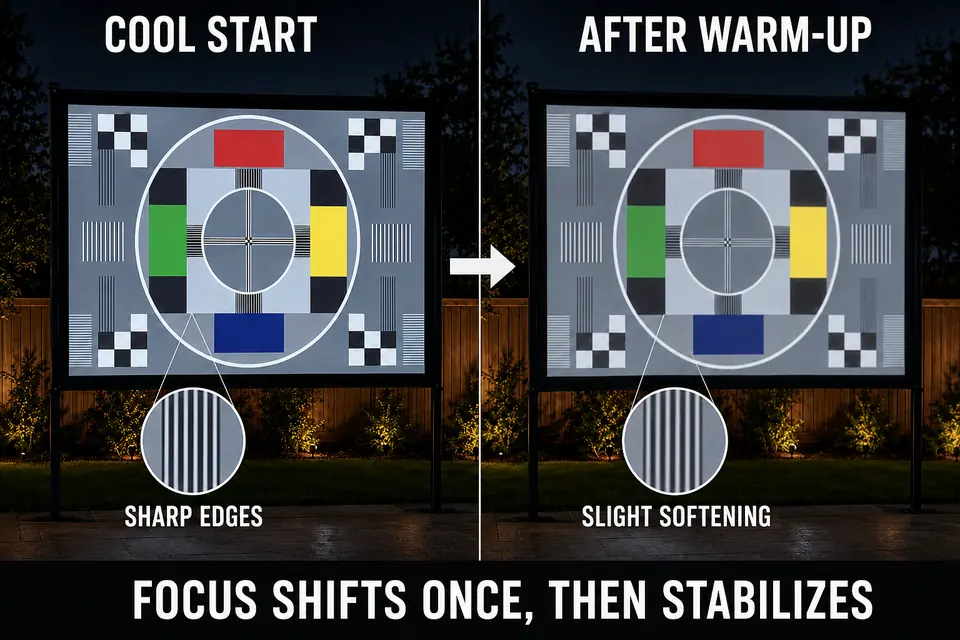
Table Movement During the Movie
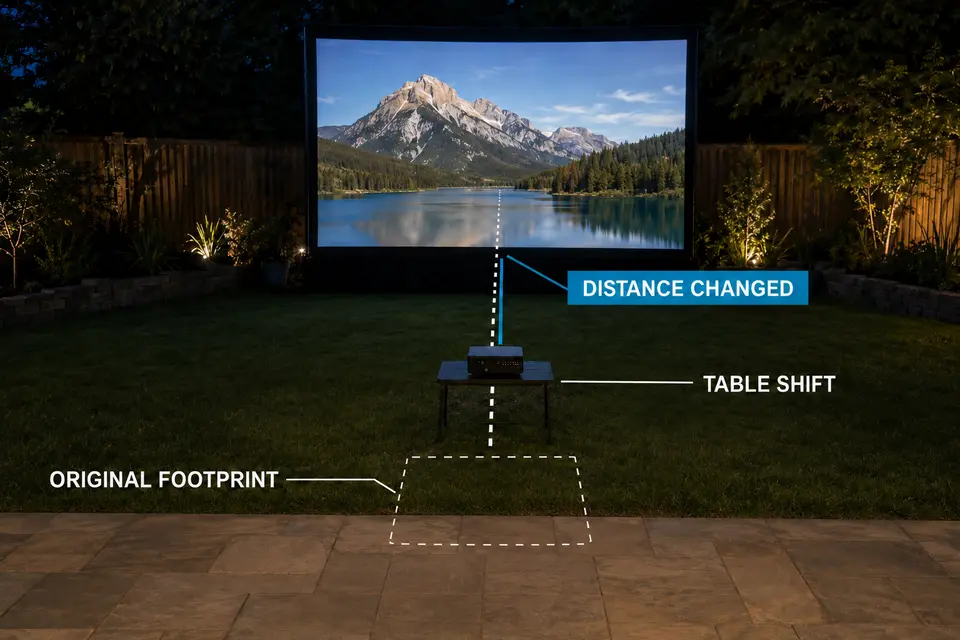
If focus changes after people begin using the yard, check the projector support before blaming the optics. A slight forward or backward shift changes the lens-to-screen distance. Rotation or sideways movement may also disturb image position and edge sharpness.
Outdoor tables move in ordinary ways: someone sets down a drink, leans against an edge, bumps a leg, or pulls a connected cable. On a lawn, narrow legs can settle into the soil as the evening continues. That risk is one reason the choice between grass and a firm patio base affects more than whether the setup looks level.
Before touching the focus control, compare the projector feet with their original positions. Small removable markers beside two feet can reveal forward movement or rotation without introducing fake precision.
Then test the support itself. Apply light pressure away from the projector and check whether the table rocks, flexes, or shifts. Inspect connected cables for tension as well. A stable-looking table can still transmit movement whenever someone passes it.
The important distinction is stability, not appearance. A polished projector stand that flexes under light contact is less useful than a plain, rigid support that preserves the lens position.
Screen Movement and Sag
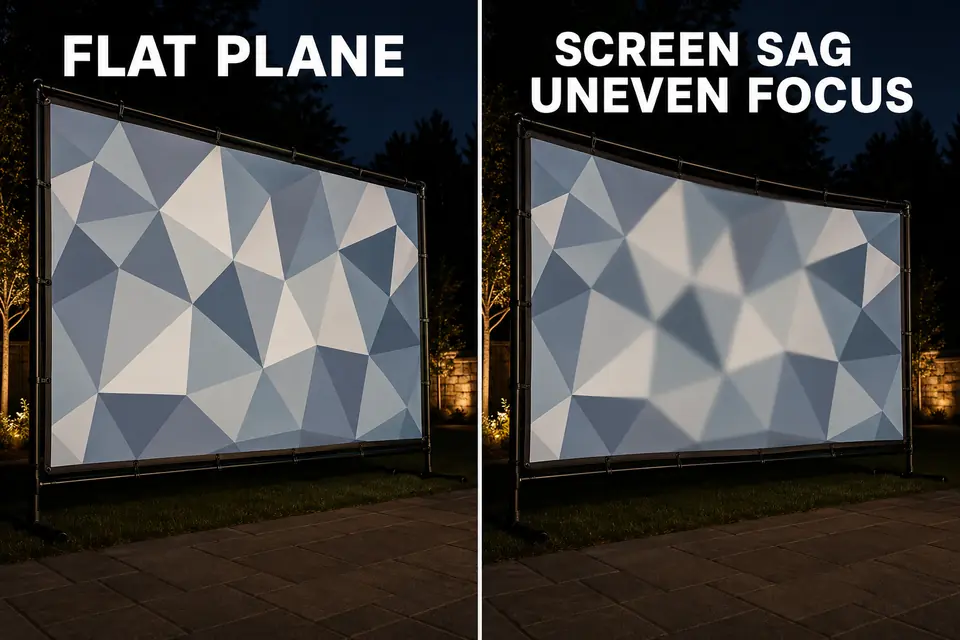
When only part of the image looks soft, inspect the screen plane before changing projector focus. A screen that leans, bows, or moves in the wind places different parts of the image at different distances from the lens.
A freestanding frame can shift closer to the projector without looking obviously misplaced from the seats. Fabric can also relax as outdoor conditions change. The center may develop a shallow belly while the edges remain closer to their original plane.
That pattern cannot be corrected cleanly with the focus ring. Turning it may sharpen the center while softening the edges, or move the sharp region from one part of the image to another. The projector is being asked to focus on several surface depths at once.
View the screen from the side. Check its top edge for lean, then inspect the center and lower tension points for bowing. If the soft region changes with each gust, diagnose outdoor screen wind movement before making another optical adjustment.
Wrinkles can create a related localized effect without moving the whole frame. Correct the screen surface first; otherwise, repeated refocusing only relocates the sharpest area.
Lens Touches During Setup
If the picture is soft from the first scene but looked sharp during an earlier test, something may have touched the lens controls after focusing. Connecting a late cable, repositioning the projector, fitting a temporary cover, or reaching for a nearby button can move a manual focus ring.
Complete cable connections and nearby setup work before making the final focus adjustment. Do not use the lens barrel as a handle when moving the projector. If the focus ring moves easily, note its final position so accidental rotation is easier to recognize.
A fingerprint or film on the lens creates a different problem. It may lower overall clarity or contrast, but it will not normally behave like a precise focal shift that disappears when the ring is turned. Do not use repeated refocusing to compensate for a dirty optical surface.
Mid-Movie Focus Check
A useful mid-movie check changes one variable at a time. If the focus ring is adjusted first, the picture may improve while the actual movement remains undiscovered.
Pause on a menu, projector interface, or simple non-copyrighted test image containing fine lines and small details. Movie footage is unreliable for diagnosis because camera focus, motion blur, compression, and depth of field naturally change between shots.
Then follow this order:
- Confirm that the softness remains visible on a static reference image.
- Compare the center, edges, and corners to see whether the change is uniform or localized.
- Check the projector feet, table, and connected cables for movement.
- View the screen from the side for lean, sag, or wind-driven motion.
- Make one small focus correction only after the physical relationship has been checked.
If the projector shifted sideways or rotated, restore its position before reaching for digital geometry controls. Keystone correction and physical projector movement solve different problems: keystone can reshape the frame, but it cannot return the lens to its original distance and angle.
After correcting the identified cause, leave the controls alone and watch whether sharpness holds. A stable result supports a one-time change. Continued softening means the diagnosis is incomplete.
When Refocusing Is Normal
One small correction after warm-up can be normal. It should affect the frame predictably and remain useful for the rest of the movie.
Repeated correction is the boundary where refocusing stops making sense. Softness that returns with wind points toward the screen. A change after table contact, foot traffic, or cable movement points toward projector displacement. Focus that continues to drift while every physical component remains stable deserves a model-specific manual check or service assessment.
The practical standard is not perfect laboratory sharpness throughout changing outdoor conditions. It is a projector that holds usable focus once warm, with a support and screen that remain still. If that standard is not met, find what moved before turning the ring again.
For a manufacturer example showing that both lens focus and projector-to-screen alignment can cause a blurred image, see the BenQ digital projector manual.